
All Topics
- Alchemizing Music Concepts for Students
- Anuv Jain Songs
- Artist Spotlight
- artium gift card
- Artium Maestros
- Artium News
- Artium Tech Blog
- Best Coke Studio Songs
- Best Female Singers
- Birthday songs
- Bollywood Love Songs
- buying guide
- Carnatic Music
- Child Singers
- Devotional Music
- Editorials by Ananth Vaidyanathan
- English Love Songs
- Festival
- Film Music
- Ghazal Music
- Guitar
- Hindustani Classical Music
- Indian Classical Music
- Indian Folk Music
- Insights
- Instagram Reels Viral Songs
- Instruments
- Karaoke
- Karaoke Singing
- Keyboard
- Kids Music
- maestros
- Music Education
- Music for Kids
- Music Games
- Music Industry
- Music Instruments
- Music Legends
- Music Press Release
- Music Technology
- Music Theory
- Music Therapy
- Music Tools
- Piano
- piano guide
- Songs
- South Devotional Music
- Success Stories
- Tamil Film Music
- Telugu Film Music
- Time Theory
- Tools
- Uncategorized
- Uncategorized
- Uncategorized
- Uncategorized
- Vocal Singing
- Vocals
- western classical music
- western music
- Western vocal music
What Is a Capo and How Do You Use One on Guitar?
What Is a Capo and How Do You Use One on Guitar?
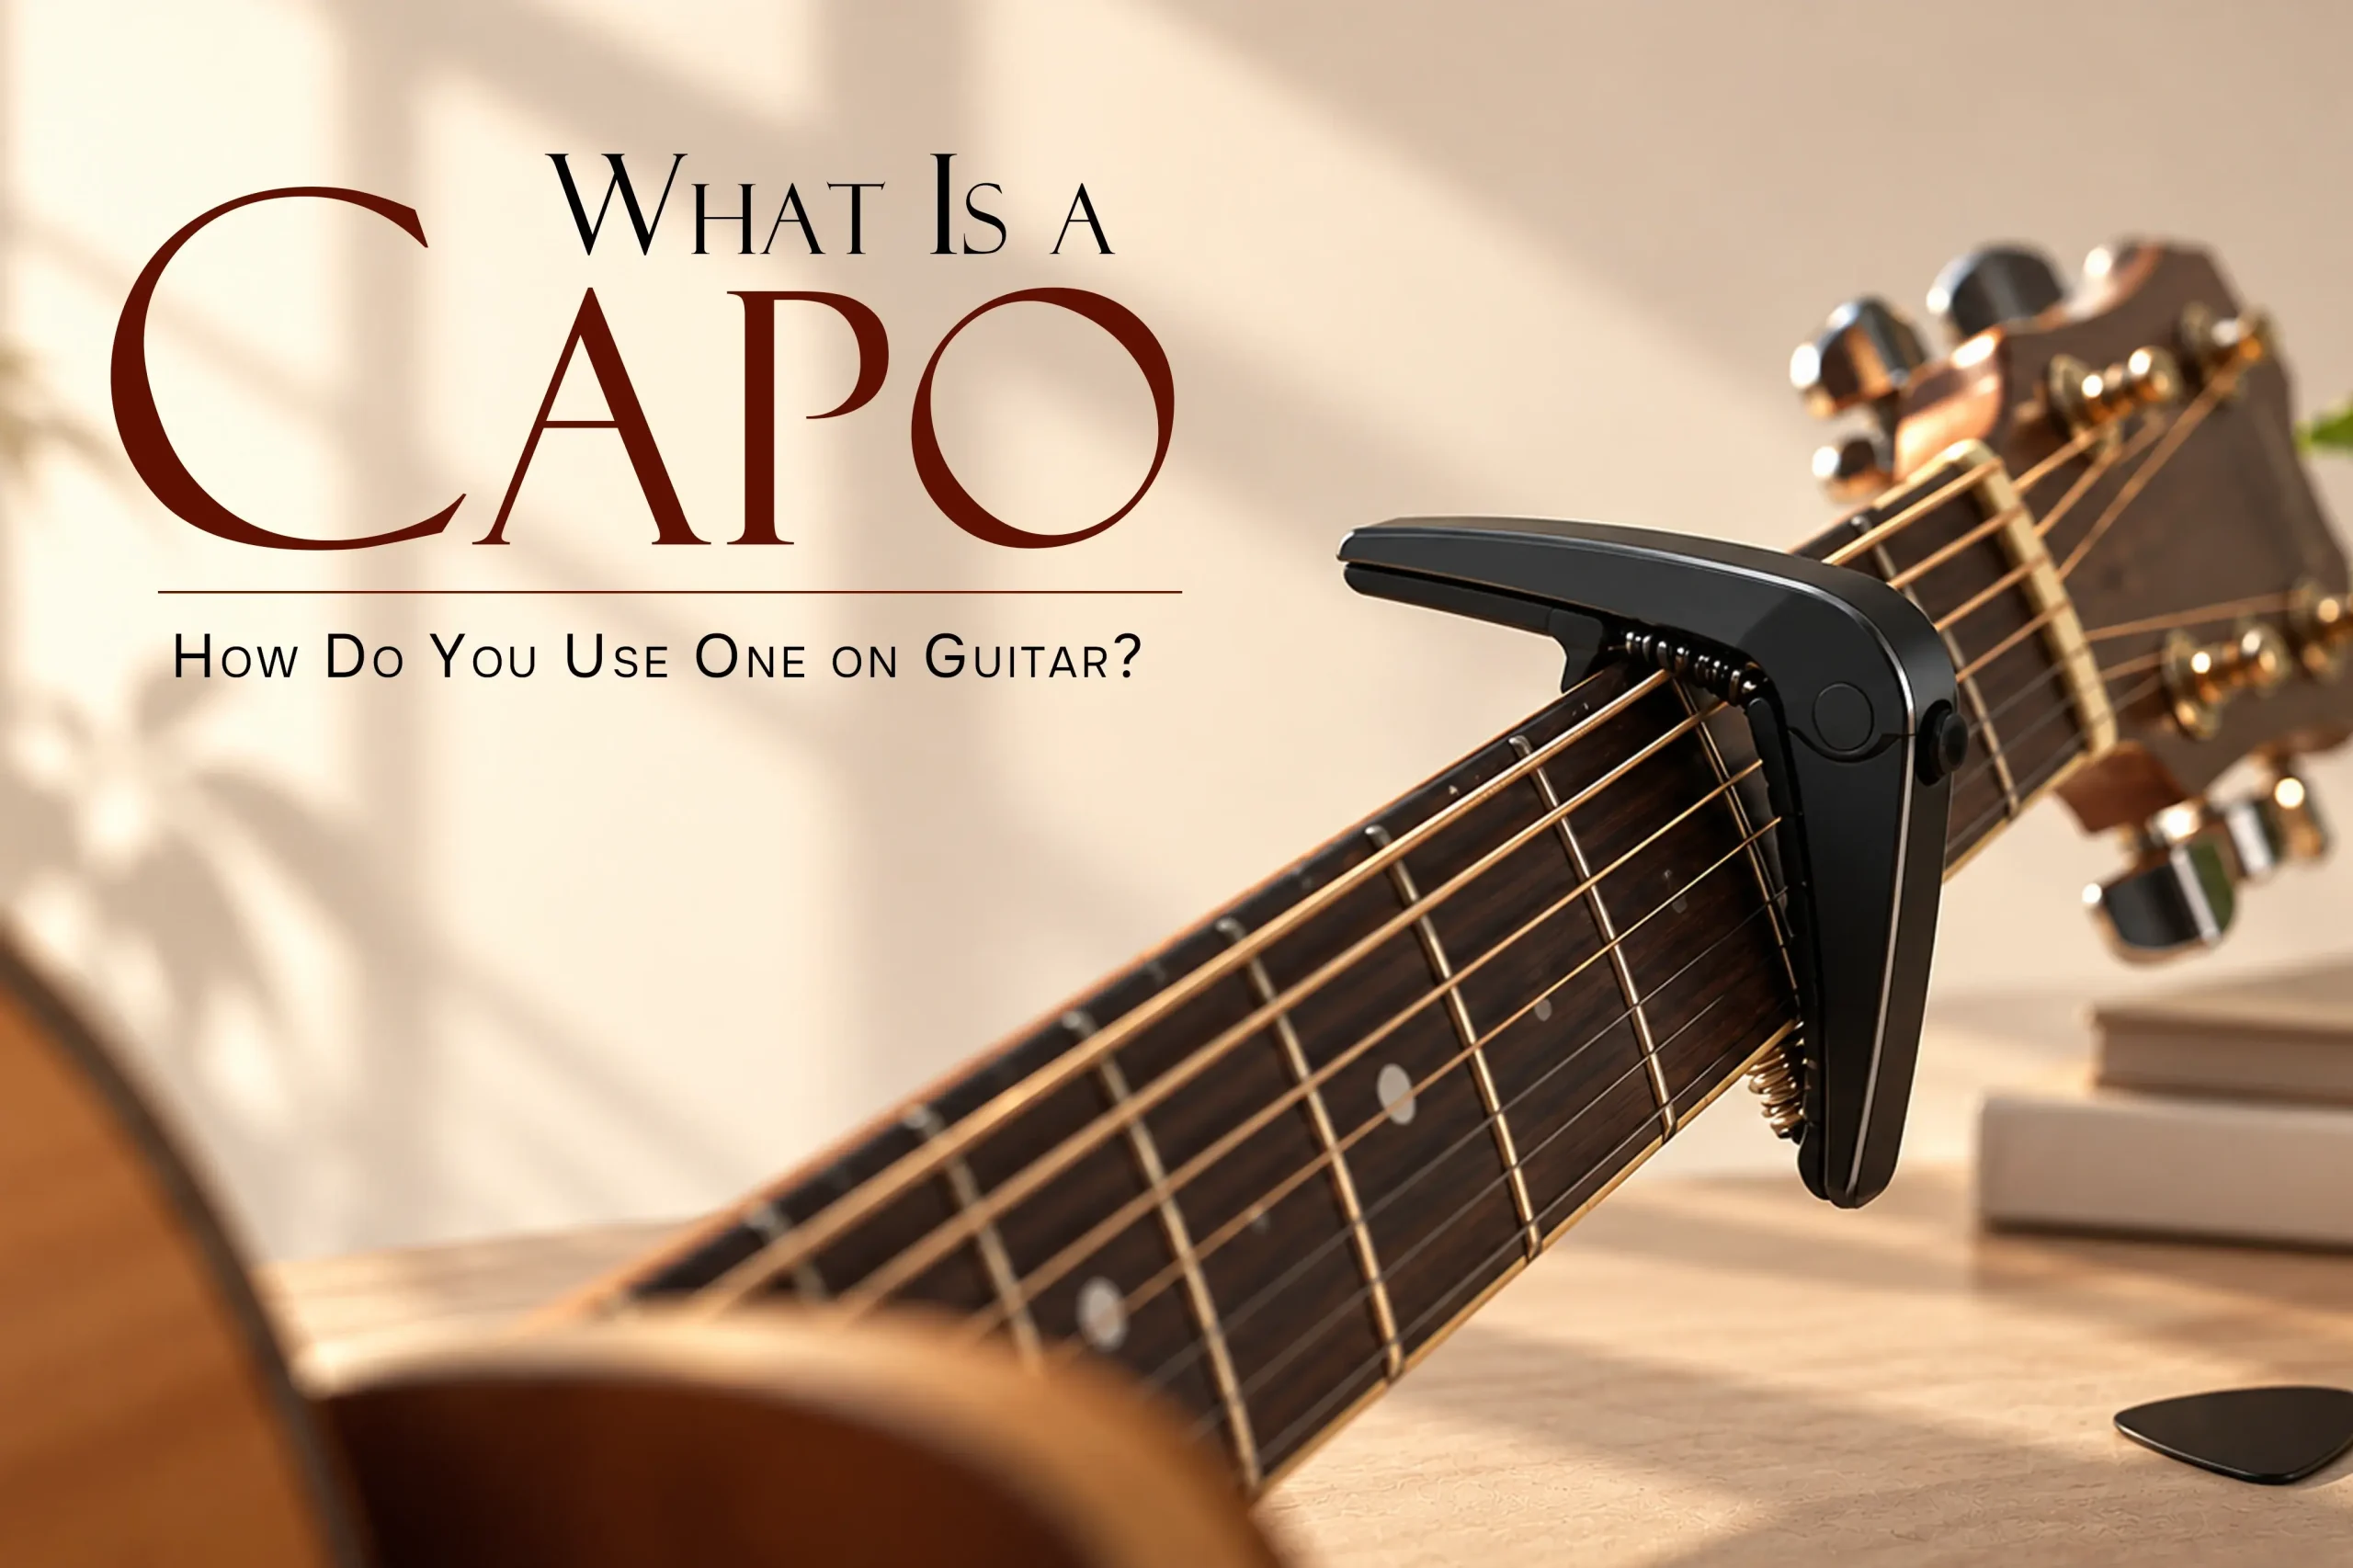
Table of Contents
Quick Summary
| A capo is a small clamp that attaches to your guitar’s neck and raises the pitch of all strings. It lets you play songs in different keys using the same open‑chord shapes, match a singer’s range easily, and avoid difficult barre chords while you build strength and confidence. |
Introduction
If you have watched a guitarist attach a small clamp to the neck of a guitar, you may have wondered, what is a capo and why it is useful. A capo is one of the simplest guitar accessories, but it can solve several common problems. It can help you play a song in a higher key, match a singer’s vocal range, use easier chord shapes, and create a brighter sound without changing the tuning of every string manually.
For beginners, a capo can make some songs more comfortable to play. However, it is important to understand that a capo does not replace learning chords, rhythm, tuning, or proper technique. It is a useful tool that supports your playing as your skills develop.
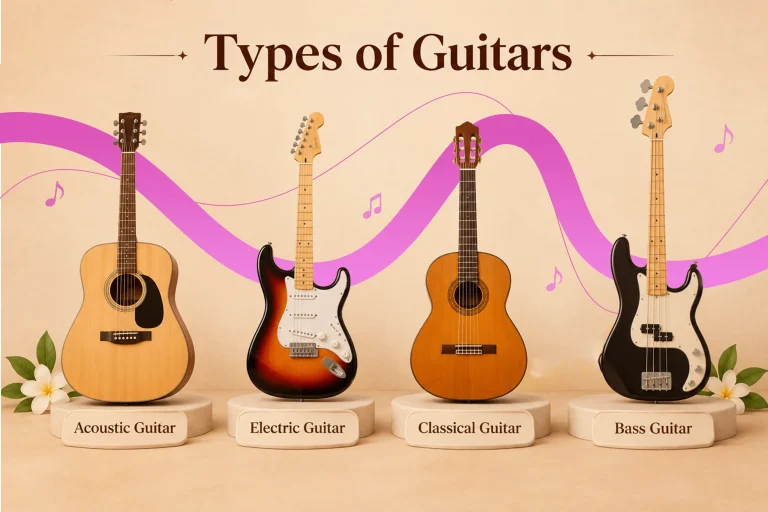
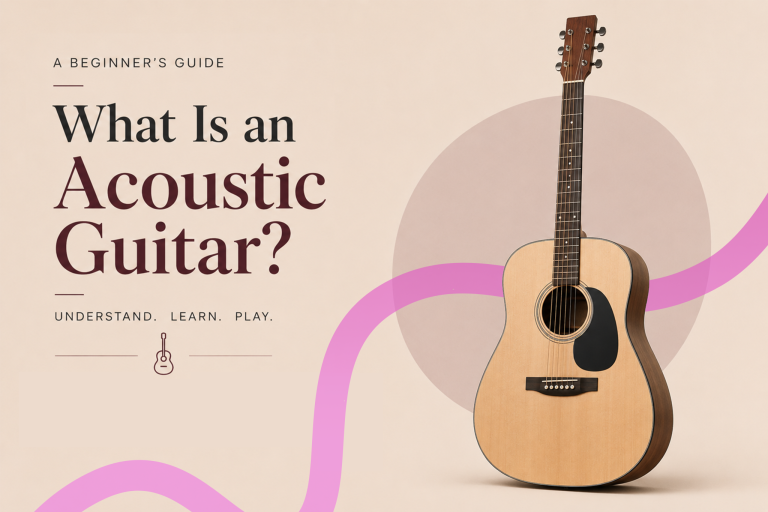
In this guide, you’ll learn what a guitar capo is, how it affects pitch and tone, why it’s used, how to position and use it correctly, which type suits your guitar, and whether it changes the chords you play. Before exploring capos, it may help to understand the main guitar families in our guide to Types of Guitars. If you are new to the instrument, you can also read What Is an Acoustic Guitar.
What Is a Capo?
A capo is a small device that clamps across the neck of a guitar and presses the strings against a fret. The word is short for capotasto, which means “head of the fretboard”.
In simple terms, a capo acts like a temporary, movable nut. The nut is the small strip near the guitar’s headstock that supports the strings and marks the beginning of the strings’ vibrating length. When you place a capo on a fret, it creates a new starting point for the strings further along the neck.
This shortens the length of every open string. As a result, the pitch of the open strings rises.
A simple example
Suppose you play an open G chord without a capo. The chord shape and your finger positions produce a G chord.
Now place the capo on the second fret and play the same G shape. Your fingers are still making a G shape, but the guitar sounds two semitones higher. In this case, the chord sounds as A.
The shape remains familiar, but the actual sound changes.
What Is a Guitar Capo Used For?
Many learners ask, what is capo used for in guitar playing? A capo is mainly used to raise the pitch of the guitar while keeping familiar chord shapes and fingerings.
Here are the most common uses.
1. Playing a song in a higher key
A capo lets you move a song into a higher key without learning completely different chord shapes.
For example, if a song feels too low for your voice, placing a capo on the second or third fret can raise the song’s pitch. This is especially useful when accompanying singers or singing along yourself.
2. Using easier chord shapes
Some songs contain chords that are difficult for beginners, particularly barre chords. A capo may allow you to use open-position shapes instead.
For instance, rather than playing a difficult B major barre chord, you may be able to place the capo on the second fret and use a familiar A major shape, depending on the song’s arrangement.
This does not mean every difficult chord can be avoided. It simply gives you another way to arrange the song.
3. Matching your vocal range
Singers have different comfortable ranges. A song may sound correct in its original key but feel uncomfortable for your voice.
A capo can help you transpose the song upwards in small steps. You can move it one fret at a time until the key feels comfortable.
If the song needs to move lower, however, a standard capo cannot help because it only raises pitch. You may need to use different chord shapes, retune the guitar, or transpose the song another way.
4. Creating a brighter tone
Placing a capo higher on the neck often produces a lighter, brighter sound. This can be helpful in pop, folk, devotional, Bollywood, and acoustic arrangements.
The result may also leave more space for a bass instrument or another guitar. Two guitarists can play similar chord progressions with different capo positions and create contrasting textures.
5. Learning songs from chord charts
Many beginner chord charts are written using simple open chords such as G, C, D, Em, Am, and E. A capo allows you to use these shapes while playing along with a recording that is in a different key.
This is one reason capos are common in beginner guitar lessons and informal accompaniment.
6. Supporting different guitar styles
A capo is used across many styles, including:
- Bollywood and Indian film songs.
- Pop and acoustic singer-songwriter music.
- Folk and country music.
- Worship and devotional music.
- Fingerstyle arrangements.
- Light rock and unplugged performances.
The story of when was the guitar invented takes us through the development of early stringed instruments and the gradual evolution of the modern guitar. Its changing design, sound, and role in different musical traditions eventually helped establish it as one of the most widely played instruments in popular music.
What Does a Capo Do to Your Guitar’s Sound?
The short answer to what does a capo does is this: it raises the pitch of the strings and changes the tonal character of the guitar.
It raises pitch by semitones
Each fret represents one semitone, also called a half-step.
- Capo on the 1st fret: raises the pitch by one semitone.
- Capo on the 2nd fret: raises the pitch by two semitones.
- Capo on the 3rd fret: raises the pitch by three semitones.
- Capo on the 5th fret: raises the pitch by five semitones.
So, if your guitar is in standard tuning and you place the capo on the second fret, every open string moves up by two semitones.
It preserves the string relationships
A capo raises all the strings together. The distance between the strings remains the same, so the guitar’s familiar chord relationships are preserved.
This is why you can still use the same chord shapes. The shapes do not change, but the sounding chords do.
It can make the sound brighter
The shorter vibrating length can give the guitar a brighter, more focused tone. Open chords may sound more sparkling and clear, particularly on an acoustic guitar.
The exact sound depends on:
- The guitar’s body and strings.
- The capo’s pressure.
- Your picking or strumming technique.
- The fret where the capo is placed.
- The quality and condition of the strings.
It can affect tuning
A capo that is too tight may pull the strings sharp. This means the notes sound slightly higher than intended.
After placing the capo:
- Play a few chords.
- Listen for notes that sound sharp or out of tune.
- Check the tuning with a tuner.
- Reposition the capo or reduce its pressure if necessary.
A well-fitted capo should hold the strings securely without applying unnecessary pressure.
Types of Guitar Capos
There are several types of guitar capos. They perform the same basic job, but their mechanisms, pressure control, and ease of use differ.
1. Spring-loaded capo
A spring-loaded capo opens and closes using a spring mechanism. You squeeze it, place it on the neck, and release it.
Advantages:
- Quick to attach.
- Easy for beginners.
- Convenient during live performance.
Possible limitation:
- Some models apply more pressure than necessary and may pull the strings sharp.
2. Screw-adjusted capo
A screw-adjusted capo uses a screw or wheel to control the pressure.
Advantages:
- Allows more precise adjustment.
- Can reduce unwanted tuning changes.
- Useful for players who want careful control.
Possible limitation:
- Takes slightly longer to place and remove.
3. Trigger or lever capo
A trigger capo uses a lever mechanism. It is similar to a spring capo but may be easier to operate with one hand.
Advantages:
- Fast to use.
- Convenient when changing positions during a song.
- Usually comfortable for beginners.
Possible limitation:
- The pressure may not be as adjustable as with a screw capo.
4. Strap or elastic capo
This type uses a flexible strap to hold the capo in place.
Advantages:
- Lightweight.
- Often affordable.
- Easy to carry.
Possible limitations:
- Pressure may be less consistent.
- It may require more careful positioning.
5. Partial capo
A partial capo covers only some strings rather than all six. It can create alternate chord voicings and unusual textures.
Partial capos are generally more suitable for intermediate or advanced players. If you are still learning basic open chords, begin with a full capo.
How to Use a Capo on Guitar: Step-by-Step
Learning how to use a capo is straightforward. Follow these steps each time you attach it.
Step 1: Tune your guitar
Tune the guitar before placing the capo. Standard tuning is usually:
- 6th string: E.
- 5th string: A.
- 4th string: D.
- 3rd string: G.
- 2nd string: B.
- 1st string: E.
A capo cannot correct an incorrectly tuned guitar. It only raises the pitch from the tuning you already have.
Step 2: Identify the required fret
Check the song’s chord chart or arrangement. If it says “capo 2”, place the capo on the second fret.
The fret numbers begin at the end of the neck nearest the headstock. The first metal fret wire is fret 1, the next is fret 2, and so on.
Step 3: Open the capo
Open the capo according to its design. With a spring-loaded capo, squeeze the handles. With a screw or strap capo, loosen it enough to fit over the neck.
Step 4: Place it behind the fret wire
Position the capo just behind the metal fret wire, on the headstock side of the fret. Do not place it directly on top of the metal fret wire or in the middle of the fret space.
This position helps the strings make clean contact while reducing buzzing and excessive pressure.
Step 5: Keep it parallel to the fret
The capo bar should sit straight across the neck and remain parallel to the fret wire. Avoid placing it at an angle.
An uneven position may cause:
- Muted strings.
- Buzzing.
- Uneven pressure.
- Notes that sound sharp.
Step 6: Apply even pressure
Clamp the capo so that it presses all the strings evenly. It should be secure, but it should not feel excessively tight.
If your capo has adjustable pressure, use only enough pressure to produce clear notes.
Step 7: Play each string
Pick the strings one at a time. Listen for:
- Buzzing.
- Muted notes.
- Strings that are pulled noticeably sharp.
- A capo that slips when you play.
If a string does not ring clearly, reposition the capo slightly closer behind the fret wire.
Step 8: Check the tuning again
Play a tuning check after attaching the capo. The pressure may shift the pitch slightly, especially on lighter strings or guitars with sensitive intonation.
If necessary, make a small tuning adjustment.
Step 9: Play the listed chord shapes
Use the chord shapes shown in the song chart. Remember that the chart may refer to the shapes rather than the actual sounding chords.
For example, a song may ask you to play G, C, and D shapes with a capo on the second fret. Your fingers use those familiar shapes, but the music sounds in a higher key.
Step 10: Remove it carefully
When you finish, open the capo rather than pulling it sharply across the strings. Avoid leaving it attached to the guitar for long periods unless the manufacturer’s instructions allow it.
When Should You Use a Capo?
Understanding what is a capo used for in guitar becomes easier when you see common playing situations.
When a song is too low for your voice
If you can sing the melody but the original key feels low, try moving the capo up one fret at a time.
For instance, if the original arrangement uses open chords and sounds too low, a capo on the second fret may make the melody more comfortable without requiring a new chord arrangement.
When a song contains difficult barre chords
Beginners often find barre chords tiring because one finger must press several strings at once. A capo may allow you to use open shapes instead.
This can make it easier to focus on:
- Steady rhythm.
- Smooth chord changes.
- Singing while playing.
- Building confidence.
You should still learn barre chords gradually. A capo is a helpful arrangement tool, not a permanent replacement for technique.
When you want a brighter acoustic sound
A capo can create a crisp, ringing tone that suits strumming and fingerpicking. It is often useful when you want the guitar to sound lighter without changing the instrument’s tuning.
When playing with other musicians
A singer or another musician may ask for a song to be moved to a different key. Rather than learning an entirely new set of shapes immediately, you may be able to use a capo and familiar chord forms.
Always confirm the actual key and listen carefully, because the suitable capo position depends on the chord shapes you are using.
When learning from online tutorials
Many guitar tutorials use a capo position to simplify the song. If the instructor says “capo on the third fret”, follow that instruction before playing the chords.
If the song does not sound like the tutorial, check:
- Your tuning.
- The capo fret.
- Your chord shapes.
- The strumming pattern.
- Whether the tutorial uses a different guitar tuning.
When arranging Indian songs
A capo can be useful when adapting Hindi film songs, regional songs, or independent music for acoustic guitar. It allows you to find a comfortable key for your voice while maintaining simple, flowing chord shapes.
For a beginner, this can make accompaniment feel more musical and less physically demanding.
Tips for Choosing the Right Capo
When choosing a capo, consider both your guitar and your playing habits.
Match the capo to your guitar
A capo for a standard acoustic guitar may not fit every instrument equally well. Electric guitars often have slimmer necks, while some classical guitars have wider and flatter necks.
Check that the capo:
- Covers the full width of the fretboard.
- Fits the neck shape.
- Press all strings evenly.
- Does not interfere with your fretting hand.
Look for protective padding
The bar should have soft padding that protects the strings and neck. Avoid using a capo with damaged, rough, or cracked padding.
Avoid excessive pressure
A capo should not need to be extremely tight. Too much pressure can pull notes sharp and may make playing feel uncomfortable.
Adjustable pressure is helpful because you can find the minimum pressure needed for clear notes.
Test for buzzing
After fitting the capo, play each string individually. If you hear buzzing, move the capo slightly closer behind the fret wire and check whether the strings are seated properly.
Consider portability
If you travel for lessons, rehearsals, or performances, choose a capo that is easy to carry and operate. A small, sturdy design can fit in most guitar bags.
Do not leave it on carelessly
Remove the capo after practice unless you have a specific reason to leave it attached. This helps you avoid unnecessary pressure on the strings and keeps the accessory ready for the next session.
Capo Practice Exercise for Beginners
Try this short exercise to understand how a capo changes sound.
- Tune your guitar to standard tuning.
- Play the open chords G, C, D, and Em.
- Listen to the sound of each chord.
- Place the capo on the second fret.
- Play the same four shapes again.
- Notice that the finger shapes remain the same while the pitch rises.
- Move the capo to the third fret and repeat.
- Sing a familiar song while gradually moving the capo to find a comfortable key.
This exercise helps you connect the physical fret position with the change in pitch.
If you want structured guidance while building your foundations, you can Learn Guitar Online through live lessons that match your current level and goals.
Final Thoughts
A capo raises your guitar’s pitch while allowing you to use familiar chord shapes in different keys. Place it just behind the fret wire, apply even pressure, and retune if needed. Start with simple songs to practise chord changes and rhythm, then gradually explore barre chords, transposition, and ear training.
Ready to take your guitar learning further? Book a free 1:1 trial class with Artium Academy and learn how to use techniques like capo placement, chord transposition, and rhythm playing with guidance from certified teachers. With live online lessons and a structured GRMP-recognised curriculum, you can build your skills comfortably from home.
Frequently Asked Questions
A capo is a clamp that presses the guitar strings against a selected fret. Guitarists use it to raise the pitch, play in a different key, use familiar chord shapes, match a singer’s range, or create a brighter tone.
A capo raises the pitch of all the strings. Each fret raises the pitch by one semitone. For example, a capo on the second fret raises the open strings by two semitones.
Place the capo just behind the chosen fret wire, on the headstock side. Keep it parallel to the fret and make sure it presses every string evenly. Then play each string and check the tuning.
It is used to change the song’s key, simplify chord shapes, match a singer’s vocal range, create a brighter sound, and adapt songs for different playing styles.
Common types include spring-loaded, trigger, screw-adjusted, strap, elastic, and partial capos. Full capos are suitable for most beginner arrangements, while partial capos are often used for more advanced textures.
Yes. A capo can help beginners play songs with familiar open chords instead of difficult shapes. It is especially useful when learning rhythm, chord changes, and singing while playing.
It does not usually change the finger shapes shown in a chord chart, but it changes the sounding chords. A G shape with a capo on the second fret sounds as A.
Choose a capo that fits the neck, protects the instrument with soft padding, applies even pressure, and does not pull the strings noticeably sharp. A simple spring or adjustable capo can work well for many acoustic guitarists.
Yes. A capo can be used on an electric guitar, provided it fits the neck securely and does not apply excessive pressure. Check the neck width and shape before buying one.
Follow the song’s chord chart, tutorial, or arrangement. If you are choosing the key for your voice, begin at the first or second fret and move the capo higher until the song feels comfortable. Use a tuner and listen carefully.